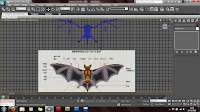
Now that half of the bat's body has been finished, it's time to use the symmetry modifer to mirror the model and create a full body layout..
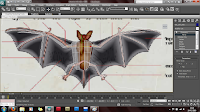
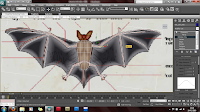
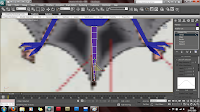
I noticed I has forgotten to give my bat a tail, so another plane was created with 8 horizontal sections and shaped into a tail that is now attached to the main body poly.
----------------------------------------------------------------------------------------------------
The next step on my bat model is to now craft the 'membrane' wing flaps that are positioned between the bat's arm structure. I will be continuing to use the 'plane-modelling' technique to great use here , including the soft selection tool to shape the vertices as desired.
I started off with a plane, using a 12x12 cross-section setting..
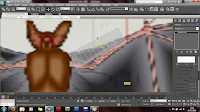
Next I converted the plane to an 'editable-poly' and begun to mold the plane's shape to fit the wing section located near the bat's shoulder..
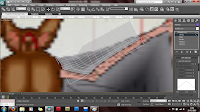
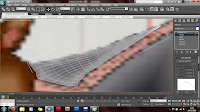
I arranged the vertices to flow in a neat pattern that will hoprfully render nicely with some lighting effects. I tried my best here to mimic the shading from the reference image in regards to positioning / flowing the vertices in each section.
This process was continued for each section of the bat's wing. The larger areas were more difficult to craft properly and arrange the vertices in a neat fashion, however as time-consuming as this was, this is still a very simple procedure you just have to be extremely patient!


I noticed I has forgotten to give my bat a tail, so another plane was created with 8 horizontal sections and shaped into a tail that is now attached to the main body poly.


----------------------------------------------------------------------------------------------------
The next step on my bat model is to now craft the 'membrane' wing flaps that are positioned between the bat's arm structure. I will be continuing to use the 'plane-modelling' technique to great use here , including the soft selection tool to shape the vertices as desired.
I started off with a plane, using a 12x12 cross-section setting..

Next I converted the plane to an 'editable-poly' and begun to mold the plane's shape to fit the wing section located near the bat's shoulder..


I arranged the vertices to flow in a neat pattern that will hoprfully render nicely with some lighting effects. I tried my best here to mimic the shading from the reference image in regards to positioning / flowing the vertices in each section.
This process was continued for each section of the bat's wing. The larger areas were more difficult to craft properly and arrange the vertices in a neat fashion, however as time-consuming as this was, this is still a very simple procedure you just have to be extremely patient!
The 'soft-selection' tool came in very useful here to start with, each corner was first positioned on the bat's wing section as see in the image above. After some tampering with the vertex positions, the soft-selection tool soon became more of a nuisance to perfecting the shape, so i opted for the regular 'individual' vertex editor to fine tune the plane and fit the section correctly. I am very pleased with the result so far, the images clearly show how the vertices flow in regards to the shading on the background image.
After each section of the bat wing was finished, i then combined the new wing pieces with the bat's body for further fine-tuning and corrections..
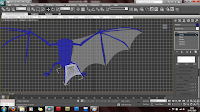
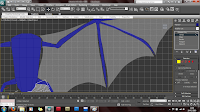
I have purposly left a gap between each section of the bat. This is due to the fact that expanding the plane to create a 3D body with the limbs attached will result in a flat model. So instead each section will be made 3-dimensional and attached seperately resulting in a more realistic and visually correct model.
I take great pride in fine-tuning each section carefully, if needed, one vertex at a time to get a very neat and easily manageable model. So far, around 5-8hrs has been spent perfecting the bat's body and wings which I hope to have completed very soon!
 RSS Feed (xml)


No comments:
Post a Comment