 RSS Feed (xml)

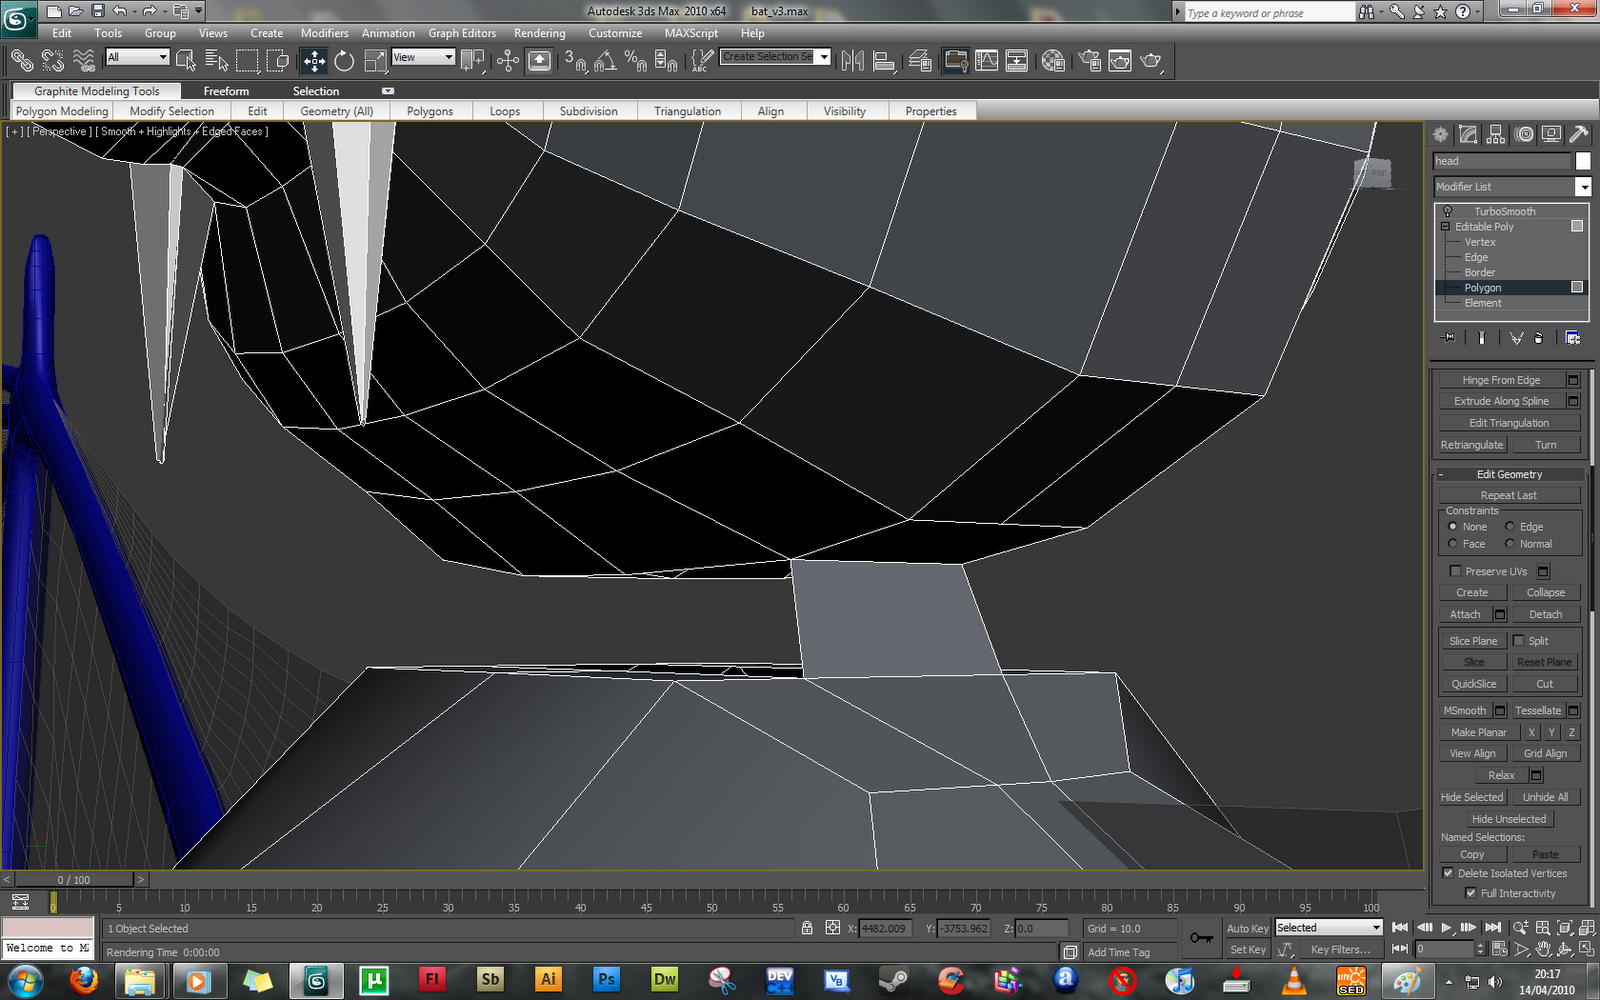
So far I am quite pleased with the result - the ears and facial structure need more work but this is a good start for the bat.

The next step was adding the head to the rest of the bat's body. This proved difficult in some areas around the next and upper body, especially the sides / shoulders. To attach the head, I removed the polygons covering the top of the bat's body and those on the underneath of the bat's head.
I then used the 'bridge' tool to connect the edges between the head and body, effectively creating a neck.


Again this section created multiple issues with polygon arrangement and position. I needed to spend a large amount of time correcting and cleaning up the model before going any further. I did this by using the cut tool to create new polygons and remove those causing problems essentially reducing the amount of polygons used here.

To finish attaching the head to the bat's body - I cleaned up only half of the bat's neck to save time, using the symmetry modifier to have a symmetrical shape on both sides of the bat.


After this I started looking at how the bat's facial expression would be reflected using his eyebrow line..

This again needs more time invested but you can see how i will be using this to influence his facial expression and visual emotions.
No comments:
Post a Comment